
Tips for generating assets with AI
A few habits will dramatically improve what MagicPixel’s AI gives you back. These are the ones we wish every new user knew on day one.
AI edit modes
Each mode treats your source sprite differently — pick the one that matches what you want to change. You'll see the same previews on hover inside the editor.
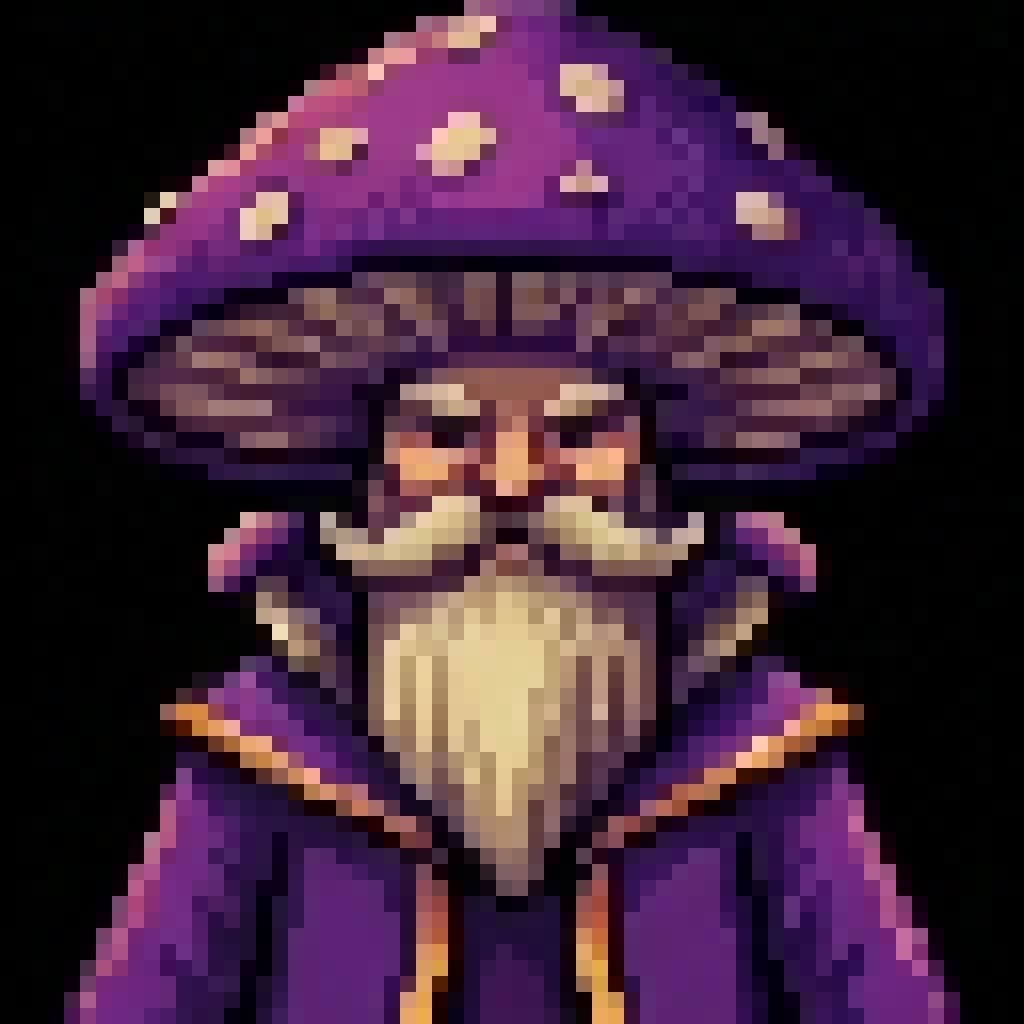
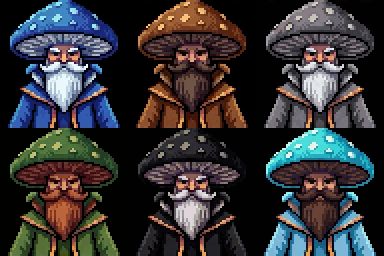
Reskin
Keep the exact silhouette and pose, but swap colors, materials, and palette — perfect for alternate team colors or rarity tiers.
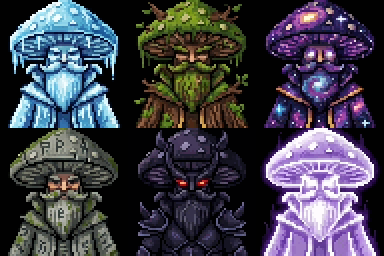
Reskin Creative
Wild reinterpretations and inspired variations of your sprite — alt themes, ornamentation, stylistic riffs. Source stays intact; new artboards for each variant.
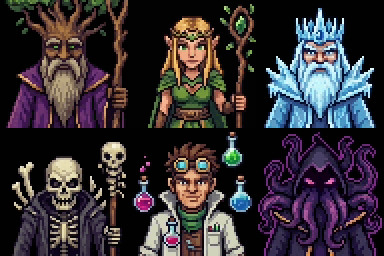
Set
Generate matching set members — different objects in the same style, angle, and footprint (e.g. a sword to pair with your shield).
Directions
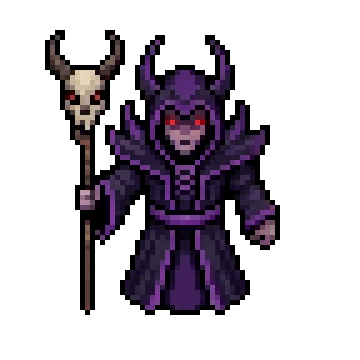
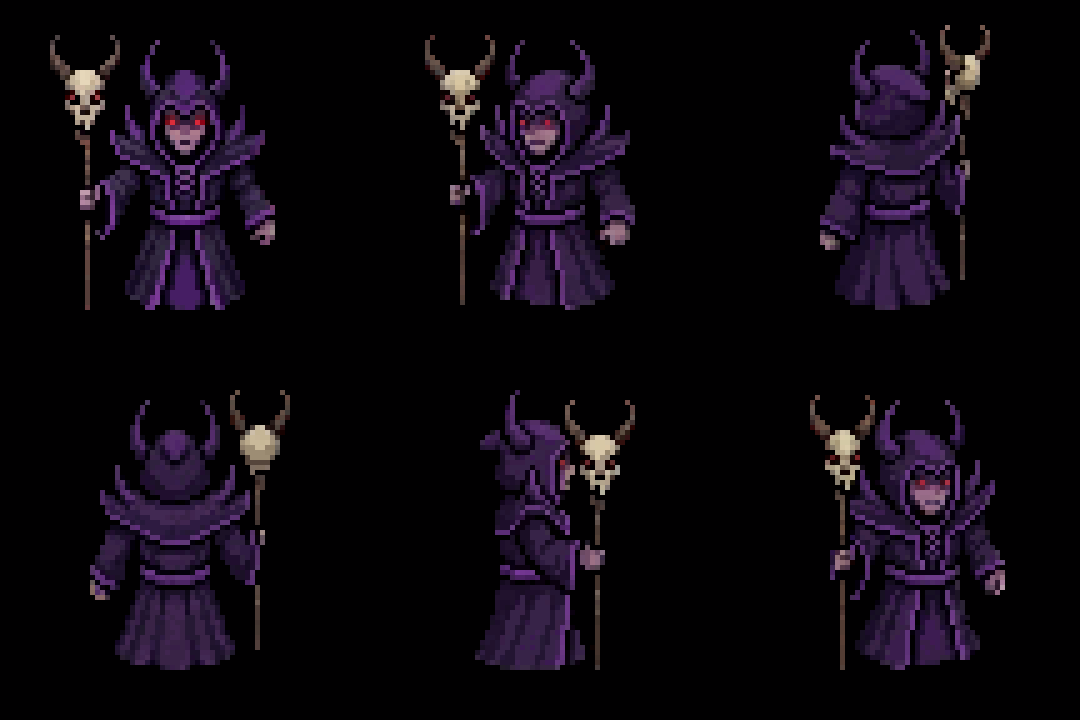
Generate the same character facing other directions. Your source sprite stays as-is; the AI fills in the remaining N/E/S/W facings.
Custom
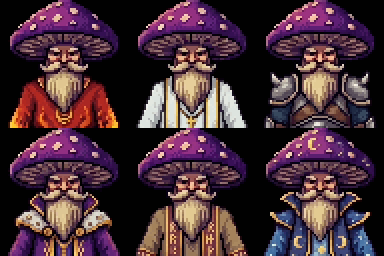
Free-form instructions like “different outfits” — the AI applies your edit while preserving silhouette and pose.
Tutorial video
In depth
Transparent backgrounds are automatic — clean up leftover islands
MagicPixel strips the white matte after Generate → New, so sprites usually return transparent. Delete leftover background islands with Magic Wand (W) + Delete.
Generate → New strips the white matte in post-process, so finished sprites usually come back transparent. Small leftover islands (stray background blobs) can still remain. Press W for the Magic Wand, click the island, then click-and-drag to grow the selection over the whole area, and press Delete.
Lean on a reference image
A single reference image steers palette, line weight, and silhouette more reliably than prompt adjectives alone.
In Generate → New, open Reference image (optional) and upload a file, pick an open artboard, or choose a saved style reference. Your existing artwork, game screenshots, and color studies all work.
Write specific prompts
Name the subject, view angle, pose, palette, and lighting — vague prompts like "a knight" leave too many gaps for the model to invent.
Instead of "a knight", try: "armored knight, side-view idle pose, 16-color GBC palette, soft top-down lighting". Pick a Subject (Character, Item, Building, UI, Custom, or Texture) and a Max colors cap (8–256) so the model fills fewer gaps itself.
Complexity tags guide density
Simple / Medium / Detailed / Complex tags estimate how hard a sprite is to reproduce and which density (Max / Quality / Quantity) is safe.
After an artboard has a detected brush grid, its label shows Simple, Medium, Detailed, or Complex (Raw until you normalize). On Variants and Directions: Simple works well with Quantity; Medium is fine at Max or Quality; Detailed and Complex lock Quantity out — Max is safest for Complex, with Quality still available if you want a few variations.
Max, Quality, and Quantity
Max = one high-fidelity output; Quality = a small sheet with more pixels per cell; Quantity packs more options with less detail per cell.
Variants, Directions, and New at 32/64 use a density toggle (Max / Quality / Quantity). New at 128 offers Max / Quality only. New at 256+ always uses Max (HD). Prefer Max or Quality when the source artboard is Detailed or Complex.
Pick a size for Generate → New
Pick the canvas size that matches how large the asset should be in-game — every size uses the same HD Prompted sheet, and 512/1024 are enlarged from it by exact whole pixels.
32 and 64 use Variants Prompted (HD) with a same-size reference or stock sample — Quantity can pack a sheet of new items. 128 is Prompted too, but Max / Quality only. 256, 512, and 1024 use HD Generate (Max). Do not pick an oversized canvas "just in case."
Fill the artboard
Size the generate target to the subject. Empty padding invites the AI to enlarge the sprite or invent props.
AI tends to fill empty space. A small subject on a large canvas often comes back oversized, or with invented props to balance the composition. Prefer a compact icon at 256 or a hero portrait at 512 rather than generating tiny content into a 1024 canvas.
Refine with Variants and Edit
When a result is almost right, use Variants, Directions, or Edit instead of regenerating from scratch — iteration usually costs fewer credits.
Got something almost right? Don’t generate from scratch. Use Variants to nudge the result in different directions, Directions for other facings, or Edit for a free-form change.